HVAC System Performance
Improve Your HVAC System Performance With My Guide
|
During the winter, when the weather outside is frigid, a split AC can be lifesaving. But if your air conditioner isn't working as it should, it can be frustrating and dangerous to be stuck inside.  Image Source: https://pngroyale.com/ In the summertime, when the windows are open, and the sun is shining, it can be unbearable in some rooms if the air conditioning doesn't work. But what if the AC has been working fine all summer but suddenly starts to give trouble in the middle of the night? That's when a split AC problem can occur. Tips on how to deal with split air conditioner problems and solutions.Air conditioning systems run 24 hours daily, every day of the year, without fail. But when they do go out, they only sometimes work. Many people have tried fixing their split A/C before, only to find themselves back at square one. So here we have compiled some of the best ways to fix a broken Split air conditioner, along with tips on not getting sucked into buying unnecessary replacements. #1 - Check the filter firstIt may seem obvious, but if you're having trouble getting your A/C going, checking its filter is the biggest thing you can do to ensure it's not clogged. If your filter is dirty, it could cause your unit to overheat until it gets cleaned out. It means you'll need to replace the filter, even though it seems fine. Before doing anything else, check the filter for dirt by opening up the access panel on top of the unit (if yours doesn't look like this, you might have to take off the side panels). Then carefully pull the filter out, blow the dirt away, put it back in, and close the access panel again. You should now feel whether or not the airflow is blocked by something solid. If it is, cleans it out thoroughly. If the filter looks clean but isn't working, try replacing it. Clean filters are cheap enough; while you're cleaning them, you can remove any debris inside the system. And once you've finished cleaning the filter, test it again to make sure that everything works properly. #2 - Get the pressure rightThis step is the second most commonly recommended way to fix a broken A/C. Your compressor should ideally be delivering around 15 PPM of pressure. Too little pressure causes your fan to lose speed, making it harder to cool down, and too much pressure makes your motor run fast and use extra electricity. To ensure that your compressor is running correctly, turn it on and wait 30 seconds before turning it off. If it starts spinning faster than normal, it's time to adjust the pressure settings. If it spins slower than usual, then it's time for some maintenance. Check the manual to learn what to look for. Don't automatically assume that the pressure is "fine" because that's about the last thing you want. Pressurizing your system too high will often lead to overheating and damage to the parts. #3 - Make sure that the evaporator coil is clearThe evaporator coil is the part of the cooling system that absorbs the moisture from your air. When it becomes clogged with ice or residue buildup, it takes longer to dry out the air you're trying to cool. Unfortunately, it means that your system won't be able to keep your house comfortable. To prevent this problem, regularly clean your evaporator coils once per month. First, remove the access panel and disconnect any hoses connected to the condenser. Next, pour hot water onto the coil to melt any ice or residue buildup. Let the coil sit for five minutes, then rinse it with cold water. After that, wipe it clean with a damp cloth and let it dry naturally. If it still feels wet after drying, give it another quick rinse to ensure no more water remains on the surface. #4 - Replace your fan bladesYour fan belt helps move air throughout your home. As a result, it keeps your ductwork free of obstructions, which prevents your A/C from stopping halfway through cooling your home. Unfortunately, most fans require a replacement every three years. To make sure that you know when your fan belts should be replaced, note the date printed on them. Once they reach three years old, it's likely time to replace them. #5 - Adjust the temperature control dialYou can tell whether or not your thermostat is working correctly by looking at the actual temperature setting. If your system says 40°F, and it feels colder outside, you know that your thermostat isn't set appropriately. If it reads 50°F, and you think your house is freezing, you know the system might be defective. A good principle of thumb is to set the temperature control dial so that the temperature level matches the average reading on the thermometer. If you do this and notice that the temperature drops slightly below the desired amount, you know that you need to add insulation or reduce the size of your windows. On the other hand, if you see that the temperature rises above the desired amount, then your thermostat is faulty. Changing your thermostat might help to resolve this issue. ConclusionIn conclusion, If your Split air conditioner struggles to keep up with the heat, it's time for a tune-up. First, check for split coils, leaks, and debris in the system. Then, if you're still having trouble, call a professional to come out and fix your AC.
0 Comments
Air vents can be a source of unhealthy indoor air. They can also be a place where dirt, dust, and other allergens can accumulate. Cleaning your air vents can help improve your home's air quality and protect your health. Every home has two air vents in the ceiling, one on each side of the room. These vents allow fresh air into a room and stale air out. Most people open and close the vents when they need to, but you should clean them twice annually. 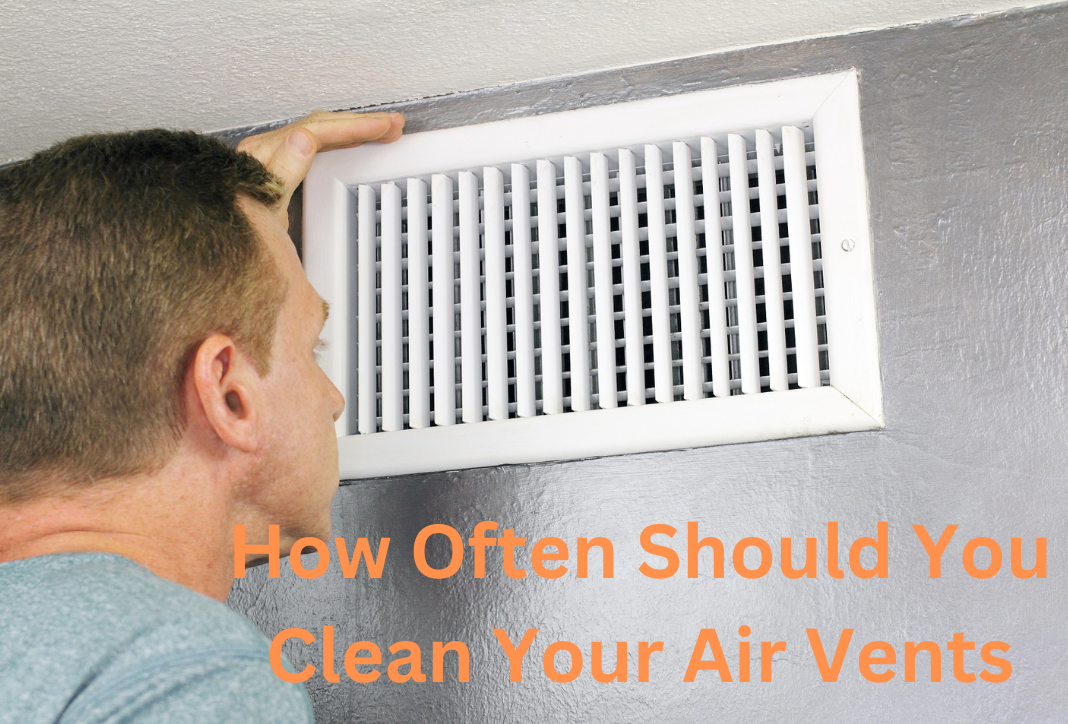 How Often Should You Clean Your Air Vents Tips on how often you should clean your air ventsYour home's air vents play an important role in the air quality of your home. A healthy indoor air quality level is key to maintaining good health and preventing respiratory infections. Here are some tips on how often you should clean your air vents: Air Vent Cleaning Tips - HVACThe number of times you must clean your ventilation system will depend on the type of system you have. In general, however, if you're looking at an HVAC system older than five years, you'll want to consider cleaning the system more frequently. On the other hand, if it's less than three years old, you may only need to check it out once a year. Some people think they don't need to clean their air vents unless they notice any dirt buildup. But the truth is some dirt buildup isn't necessarily bad. Even though dirty air vents aren't good for your home, they won't harm you if your air conditioner works properly. So, the best way to determine whether your vents need to be cleaned is to look inside them. You might also ask a professional to check them out, too. If you decide to inspect your air vents, you should always use the proper tools and procedures. When doing so, make sure you're using safe techniques that won't damage the equipment. Also, follow these steps before going any further: Step 1) Remove anything obstructing access to the vent. Step 2) Turn off the power and disconnect the electrical cords. Step 3) Set aside the grille portion of the unit with an open end facing upwards. Step 4) Open the lid of the compressor compartment. Step 5) Use a flashlight or small mirror to examine each ductwork area of the unit. Step 6) Check for debris along the baseboards surrounding the window that runs down the side of the building. Step 7) Look closely at the interior surface of the units' exterior wall panels between the fan blades. Step 8) Don't forget about those windows! It's important to note that if you live in a hot climate, then it's likely that condensation could collect on your air vents over time. As long as the air flowing through your vents is still moving freely, it would help if you didn't worry about any possible moisture buildup. However, if you start noticing water droplets dripping onto your floors, you probably need to eliminate the problem. Final ThoughtsIn conclusion, cleaning your air vents is important to ensure good indoor air quality. A few tips to help keep your vents clean are as follows:
-Use a vacuum cleaner with a dustbin that can be easily emptied. -Clean the vent openings using a Q-tip and mild soap solution. -Wipe down the surrounding surfaces with a damp cloth. -Scrub the inside of the vent cover with a wire brush if necessary. If you're noticing strange noises coming from your AC unit, or if it's not cooling as well as it used to, it may be time to take a look at your condenser coil. A dirty condenser coil can cause problems with your AC unit, from decreased cooling efficiency to strange noises. Here are some of the most common symptoms of a dirty condenser coil and how to fix them: 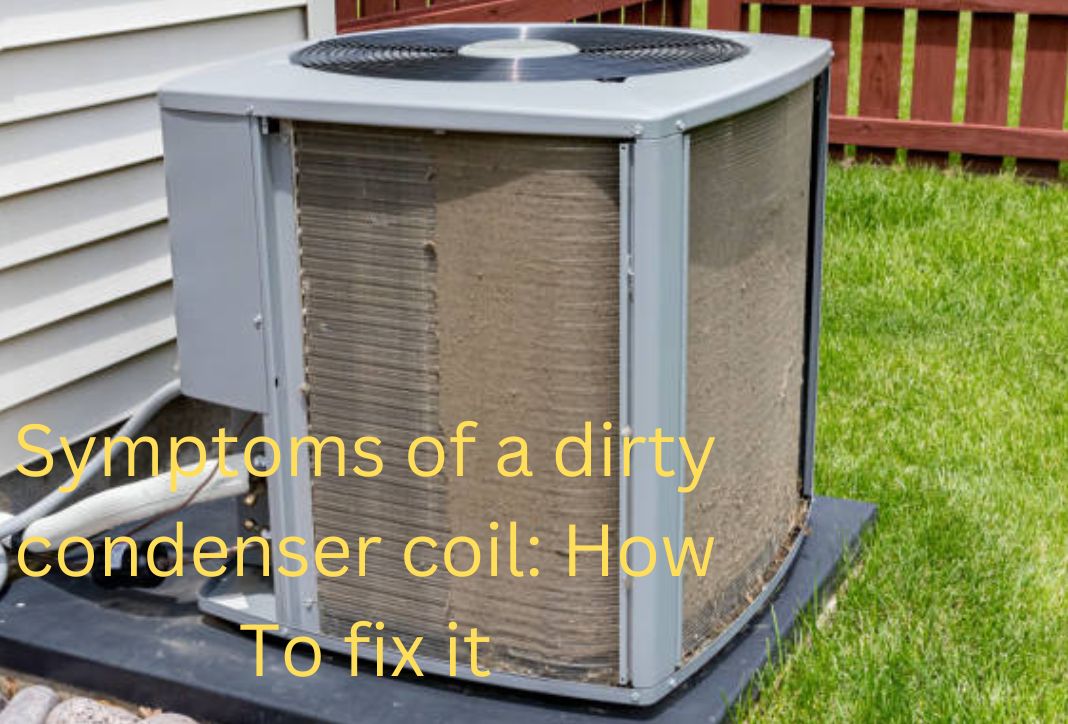 Symptoms of a dirty condenser coil: How To fix it Symptoms of a dirty condenser coilMany symptoms need to be considered when looking at a dirty condensing unit. Most people think the smell is the major indicator, but not necessarily in the case of a clogged air filter and dirty coils. If these conditions exist, they lead to poor performance and efficiency. Below I have listed some of the more commonly seen issues that may occur. A detailed checkup should always follow any symptoms to ensure maximum efficiency. 1. Dirty Air FilterThe first step in cleaning would be changing the air filter. These filters are inexpensive and easy to replace. Make sure the filter is clean before replacing it. Next, inspect the existing coils for build-up. You'll want to check each outlet and make sure no dirt has built up over time. Cleaning the coils using a brush and soap is recommended to avoid damaging them. 2. Poor PerformanceAfter changing the air filter and inspecting the coils, test the system's performance. First, run the fan until it reaches its full speed (if applicable). Next, turn the AC off completely and let the fan run without the AC. Finally, put the AC back online and observe what happens. If the fan keeps running after turning the air conditioning back on, something else must be checked out. However, if the fan stops running immediately, you know everything is working properly. 3. OdorsIf the airflow isn't good, odors are going to be created. Sometimes, those smells can be quite strong. When dealing with odors, you should try to locate where they originate. Is it coming from inside the house? What is causing it? Once you figure that out, it's easier to fix the problem. 4. Clogging Up CondensersWhen checking for clogs, use the following trick to determine whether you have an issue. Turn the thermostat down slightly and turn the compressor off. Then open the valve on the condensing side and leave the valve open for 5 minutes. Close the valve and close the door. If you don't hear anything, the coil is fine. If you hear a low hum, you need to take action. 5. Overheating the SystemOnce again, if the fan runs constantly but nothing changes inside the room, it might overheat your condensing unit. Again, the same steps apply. If the compressor shuts off immediately, you may have an electrical issue. But if the compressor stays on and continues to run even though the temperature doesn't drop, then the compressor is likely to fail soon. So get it fixed now! How To fix dirty condenser coil How To fix dirty condenser coil A dirty condenser coil is a very common problem found in many homes. The part of the air conditioning system cools the air inside the home. This part comprises copper tubes that carry heat away from the indoor coil. The inside of a dirty condenser coil can make the coils inside the unit work harder than they should. It can make the unit run inefficiently. If this happens, your unit will use more power to produce the same amount of cooling. It also could lead to some strange noises in your home. It may also make your home a little uncomfortable. If you hear strange noises from your AC unit, it could be because your condenser coil is dirty. You should check it out because this can prevent damage to your AC unit and save you money. Cleaning your condenser coil is very simple and can be done at home. You should use a soft bristle brush or a sponge dampened with water. First, you should gently scrub the surface of your condenser coil. Then, it would help if you dried it with a soft cloth. It is a good idea to have the condenser coil professionally cleaned once a year. It can be done when you have the proper tools and know how to handle the job correctly. Final ThoughtsIn conclusion, if your refrigerator is not cooling properly, there is a good chance that the condenser coil is dirty. You will need to clean the coil and replace any burnt-out parts to fix the issue. Please consult a professional if you do not have the time or knowledge to fix the issue.
Heat pumps are a great way to heat your home during the winter, but they can be tricky to operate and sometimes have problems. This article will discuss some of the most common heat pump problems and their solutions. 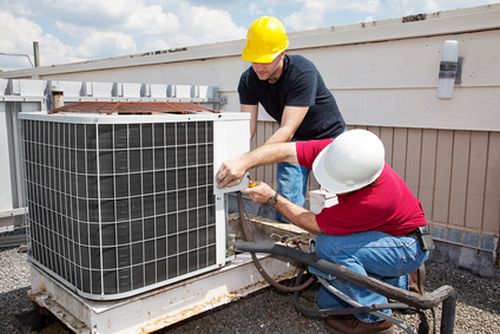 Image Source: sandiego.com The most common problems with heat pumps and how to fix them1. Warm air returnsHeat pumps have three parts; compressor, evaporator coil, and condenser coil. The coils and the refrigerant (R-22) inside them must work together to create a closed-loop system. If the unit runs properly, warm outside air from the ambient temperature should pass over the evaporator coil, where it's cooled down, before returning to the house. If the air is not cold enough at the top of the coil, then either the temperature settings are incorrect, the size of the coil is too small, or the pump is defective. Heat pump systems often get clogged with debris and dirt and may need cleaning regularly. A good way to clean out debris is to open the vents and run a fan while the unit is running. You can also use compressed air to blow out any blockages. 2. Low airflowIf the heat pump isn't drawing in enough cool air from outside to keep the home comfortable, check the ductwork to make sure the openings are clear. Check the filters to make sure they're working correctly. A dirty filter will restrict airflow and reduce efficiency. Also, try opening windows or using fans if possible. Sometimes just moving around helps draw in extra air. 3. Ice damThe ice dam is a buildup of water behind the exterior wall. When it builds up, it restricts airflow, reduces cooling capacity, causes mold and mildew, and damages insulation. Always install gutters and downspouts along the roof's edge to prevent this problem. Make sure drain pipes are properly connected and free-flowing. Clean drains once per year by removing debris and cleaning. Don't leave rain barrels unattended overnight. 4. Air conditioning malfunctionThere could be many reasons for ac malfunctions ranging from a loose connection to a faulty sensor or control board. Try resetting the thermostat to turn off the power and wait 10 minutes. Then start again. If the issue still persists, call the local service company. 5. Condensate line leaksCondensate is the excess moisture collected at the bottom of the evaporator coil. If there's excessive moisture collecting in the line, it can cause damage and rot wood framing. To prevent this, ensure the valves are tight, and the drain line is dry. It would help if you also considered replacing the hose every five years. 6. Inefficient ventilationYou can improve air circulation by installing operable windows, doors, or skylights. Install screens to keep bugs out. Keep doors shut to avoid drafts. If you live in a hot climate, you might want to invest in a whole-house dehumidifier. 7. Improper installationMake sure the baseboard is level and smooth. Never put electrical outlets near windows. Be careful about sharp edges on countertops and furniture. Do not cover the unit with plastic wrap, rugs, or bedding. And don't forget to install the correct wiring diagrams. 8. Electrical issuesSometimes, electrical issues occur due to bad wires or blown fuses. Have a professional inspect the wiring before turning the breaker on. Call a reputable electrician immediately if you notice anything unusual. Final VerdictsIn conclusion, if your heat pump is not working as it should, there are a few things you can do to troubleshoot the issue. First, try checking the thermostat for accuracy. Next, unplug the unit and wait 10 minutes before plugging it back in. If the problem persists, you may need to call a technician. By following these simple tips, you should be able to get your heat pump up and running again quickly and without hassle.
There are many ways to reduce your HVAC maintenance costs, but the best way to find out is to do some research and figure out what works best for your home. However, there are a few things you can do to help keep your system running smoothly and reduce your overall maintenance costs: 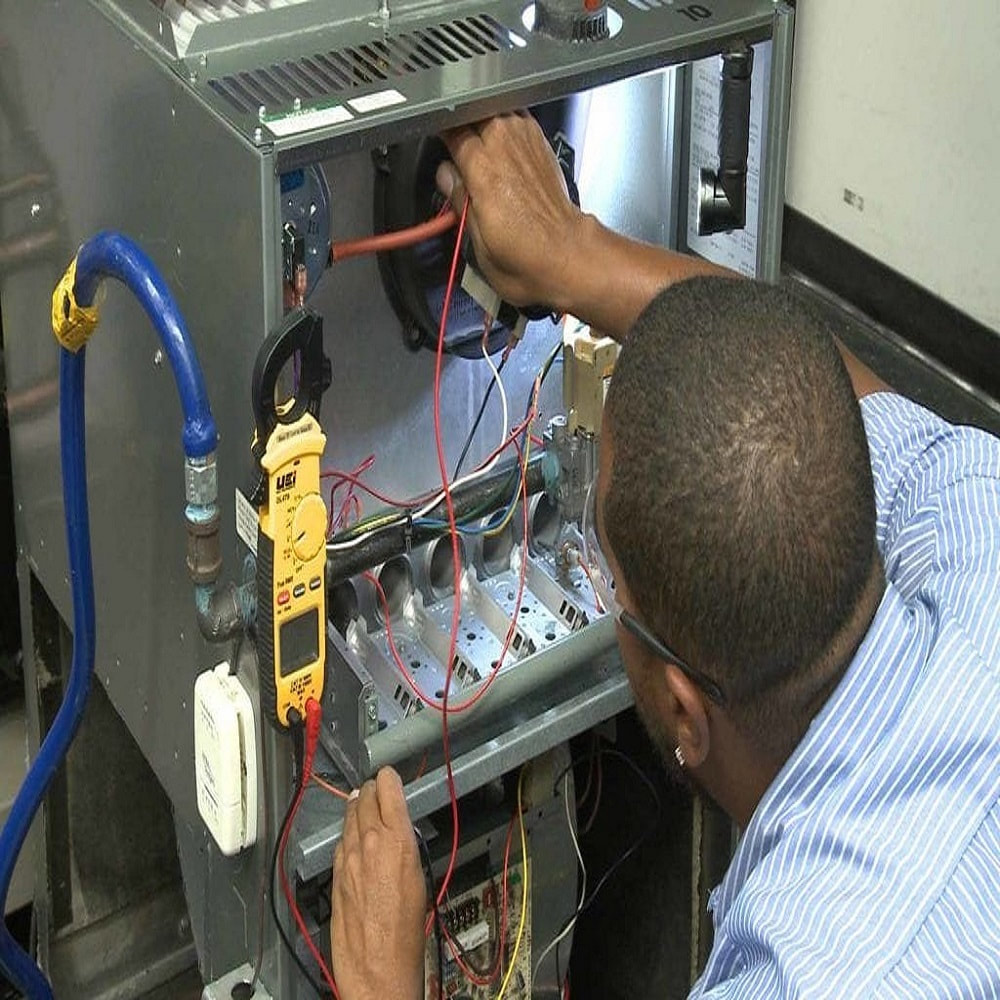 10 Simple Tips to Help Reduce HVAC Maintenance CostsThe average homeowner spends about $300 annually on heating and cooling their home. That includes the cost of electricity, maintenance, repairs, insurance, and taxes. If those costs were to add up over time, they could easily reach thousands of dollars per year. So how do you lower these costs? Here are 10 simple tips to help reduce HVAC maintenance costs: #1 Use Your Thermostat Correctly -A properly operating thermostat will save money while keeping your house comfortable. Make sure that your thermostat settings are set correctly. You want to maintain a constant temperature throughout your home at night and on weekends. To ensure that you have the right setting, check out the manual provided by the manufacturer and make adjustments if necessary. #2 Keep Up with RepairsCall an expert immediately when you notice any issues with the system or its components. Be proactive instead of reactive, and fix the problem before it worsens. Most reputable companies offer free estimates and service plans that cover almost everything under the sun. In addition to regular service, plan ahead for routine maintenance. For example, clean the air filter regularly and replace filters whenever they become dirty. Also, clean the condenser coils, evaporator coil fan blades, and blower wheel once a month. #3 Install Energy-Efficient Doors & WindowsInstall energy-efficient doors and windows to keep your home cool at night and warm during winter days. These options are ideal for homes with low ceilings where ventilation is difficult. Also, consider installing double-pane windows to insulate the room without sacrificing visibility. And don't forget to install storm shutters to protect your home from damage caused by strong winds or hail storms. #4 Improve VentilationVents are powerful tools designed to move hot and cold air around your home. Look for vents that let air flow freely. Don't place them near electrical outlets or water pipes; this creates drafts that cause discomfort and potentially damage fires. Permanently remove lint buildup and debris from vent covers. #5 Seal Ductwork:Sealing ductwork reduces heat loss and prevents unwanted odors and allergens from entering your home through the vents. Before sealing the ductwork, a professional inspect the work to ensure it is done correctly. Inspect the ductwork using a flashlight, penlight, or infrared camera before installation. #6 Check Fan Motors:Have the motor tested each spring. Motor testing ensures that fans run smoothly and quietly. Many homeowners think that their fans are fine until they find that they aren't working when it's time to turn them on in the summer months. #7 Repair Damaged Air ConditionersIf your air conditioner breaks down during the summer months, take it to a repair shop to have it repaired. Do not attempt to fix it yourself. As soon as possible, consult a professional who knows what they are doing. Also, take advantage of manufacturers' warranties. While some states allow consumers to return items to stores for store credit, others require customers to mail their products back to the company. #8 Replace Aging Furnace PartsOver time, worn furnace parts can lead to severe problems. Replacing old copper tubing, gas valves, and gas burners can prevent costly repairs. In addition, get an annual tune-up to ensure your furnace runs efficiently. #9 Maintain Exterior EquipmentMaintaining exterior equipment and appliances, including roofs, chimneys, siding, and gutters, will help prolong their lifespan. First, make sure that rain drains away from your home using gutters and downspouts. Next, clear snow off roof shingles and keep gutters clear of ice buildups. Next, remove moss and algae that may clog drain lines. Finally, apply caulk to seal cracks that appear in the wood trim. #10 Plan Ahead for Replacement:Take steps now to prepare for major repairs later. Buy a replacement unit for your air conditioning or heating system when it reaches the end of its lifespan. Otherwise, you might face high utility bills, inconvenience, and even higher repair costs. Bottom LineIn conclusion, there are many ways to reduce HVAC maintenance costs. However, implementing a few simple tips can save time and money. So if you're looking to save on your HVAC bill, start by taking these steps!
Compressor failure can be a very frightening experience for homeowners. In many cases, the failure is sudden and can create a lot of noise. But more often than not, the failure is gradual and may not be noticed until it's too late. 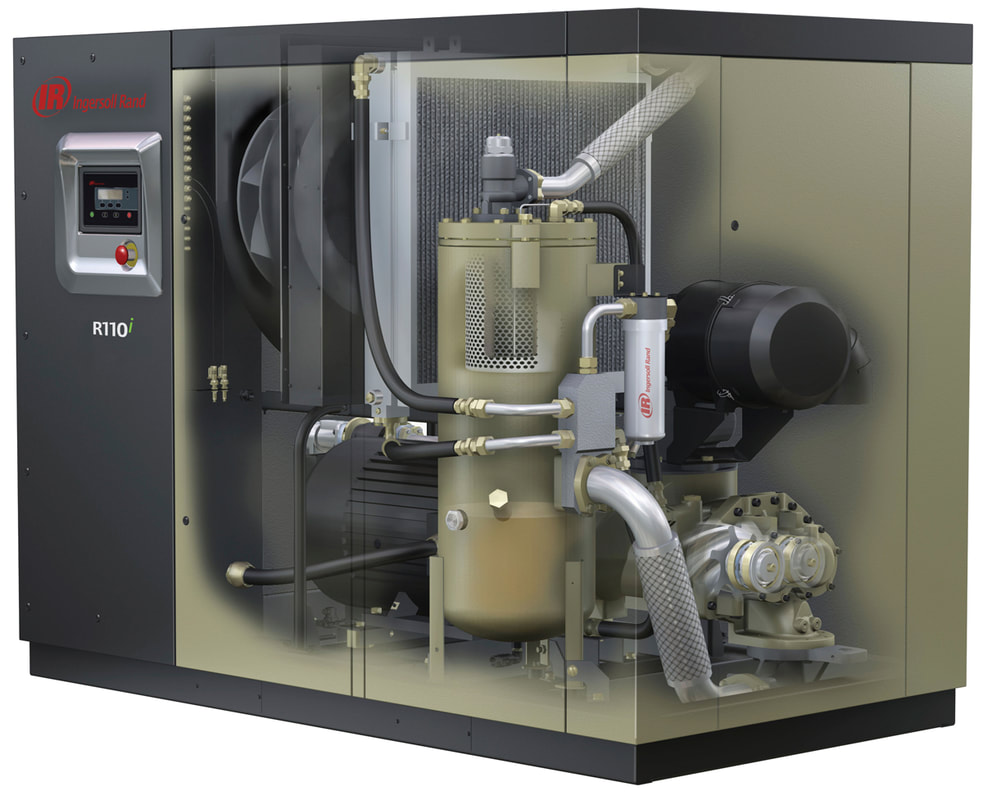 Symptoms and causes of air conditioner compressor failure AC compressor failure: Symptoms and CausesAn AC compressor is an important part of most air conditioners. When it fails, your air conditioner may not work as efficiently or quickly as it should. Here are some symptoms to watch for and the causes of compressor failure. Causes of compressor failureCompressors are devices used in air conditioning systems to pump refrigerant gas (R134a) throughout the system. When they fail, they cause damage to surrounding components. These damages could range from minor cosmetic issues to major structural failures. If you have ever noticed a smell coming from inside your home, chances are your system contains a failed compressor. Compressors may fail for many reasons, including normal wear and tear, improper maintenance, poor design flaws, electrical problems, and more. Here's what causes these things to happen. Normal Wear And TearThe first reason compressors fail is due to a lack of proper care and maintenance. Over time, compressors will become damaged if not maintained properly. Once you notice any signs of leaks or cracks, have them repaired immediately before further damage occurs. Worn-out impellers that break off can even lead to severe injuries or death. Improper MaintenanceA second way compressors fail is from negligence. Most people don't know how to maintain their air conditioners correctly, leading to various problems. Poorly designed systems or those who aren't qualified technicians make repairs difficult. If you're using someone else's system or following instructions incorrectly, you could damage something expensive. Poor Design FlawsA third reason compressors fail is faulty design. Compressor manufacturers should always strive to make sure everything works together correctly. If they do not, then an entire system can malfunction. Manufacturers should ensure they test each device thoroughly to prevent this problem. Electrical ProblemsAnother issue that causes compressors to fail is a weak electrical circuit. Electrical power can affect almost anything connected to it, and a broken connection point can often lead to a whole host of different problems. A tiny problem can turn into a huge one very easily. Therefore, make sure any connections you use are of the highest quality. When replacing compressors, it's best to get a professional service provider. Not only is it safer to replace a compressor than repair one, but they'll never charge you for already installed parts. You can find professional services nationwide at Air Conditioning Service Experts Heating & Cooling locations. Symptoms of air conditioner compressor failure
Bottom LineThe best way to prevent air conditioning breakdowns is to perform preventive maintenance regularly. That means keeping track of what parts wear out and replacing them before they fail entirely. To do this, you'll want to check off each item on your checklist weekly. Also, remember to schedule plenty of downtime between appointments to allow for the proper installation of new components.
|
Jennifer GreenI have over ten years of experience in the HVAC industry, including five years as an HVAC installer and three years as an HVAC repairman. As a result, I am well versed in all aspects of HVAC systems and installations. Archives
August 2023
Categories:
|
 RSS Feed
